As AI coding tools become more common in UX workflows, security and isolation concerns are becoming increasingly relevant during early experimentation. While experimenting with Docker’s new Sandboxes feature released in March 2026, I wanted to evaluate whether they address concerns I previously had around AI-assisted development. I discovered Docker Sandboxes while pausing at the instructions for installing Claude Code found in Anthropic’s free Claude Code 101 course. My security-first instinct was to find a way to containerize the install so it doesn’t touch the host OS.
Security considerations often receive less attention during early experimentation with AI workflows. It seems UX designers were eager to adopt these tools without established guidance from leadership on how to utilize the benefits of AI without compromising company infrastructure and security. Many of these concerns were also confirmed by the course material found in The Linux Foundation’s free Secure AI/ML-Driven Software Development course. I encourage all UX designers to take this free course, as it offers a developer’s perspective on the dangers of vibe-coding that will only help bring more security-minded thinking that UX design needs. My main concerns have been:
- Execution of malicious code. This concern has been at the top of my list. Even with company policies and IT infrastructure in place, allowing a coding agent to install malicious dependencies on the host OS results in the host being compromised
- Credential theft. Uncontainerized coding agents have access to the user’s ~/.ssh directory, opening the door for secret keys being exploited and shared with unauthorized sources
- Unintended deletion of files and directories. AI coding agents can delete files and directories that should be kept
However, as the Linux Foundation’s course states, information regarding security and AI can change. Docker’s Sandboxes addresses these concerns with these features:
- MicroVM Technology. Each sandbox runs with its own system kernel and Docker daemon, establishing stronger isolation from the host OS than currently available with regular Docker or Podman containers
- Networking controls. Each sandbox has its own isolated networking controls: open, balanced, and locked-down. This allows for greater control over which domains the sandbox is allowed to interact with
- Disposability. Sandboxes can be deleted without any lingering residue on the host OS
I would also strongly recommend reading Andrew Lock’s article on Docker Sandboxes from April 7, 2026. Lock’s blog post already goes into much greater detail into how the underlying technology works and an in-depth setup on running your first project. He mainly has great documentation on his journey with Microsoft’s ASP.NET core and other developer tools, so it’s why I trust his expertise.
I would argue this MicroVM technology is incredibly important for UX designers to understand and use. Sandboxes give designers more room to experiment and fail during the discovery phase. The discovery phase of the double diamond process can be very messy with total ambiguity, but allowing that ambiguity to pour into host systems can be a liability for a business.
Also, incorporating DevOps tools like this further strengthens trust with developers and engineers. 6sense has highlighted that Docker’s market share is 86% in the containerization market, so it goes a long way to show technical fluency with the use of this technology.
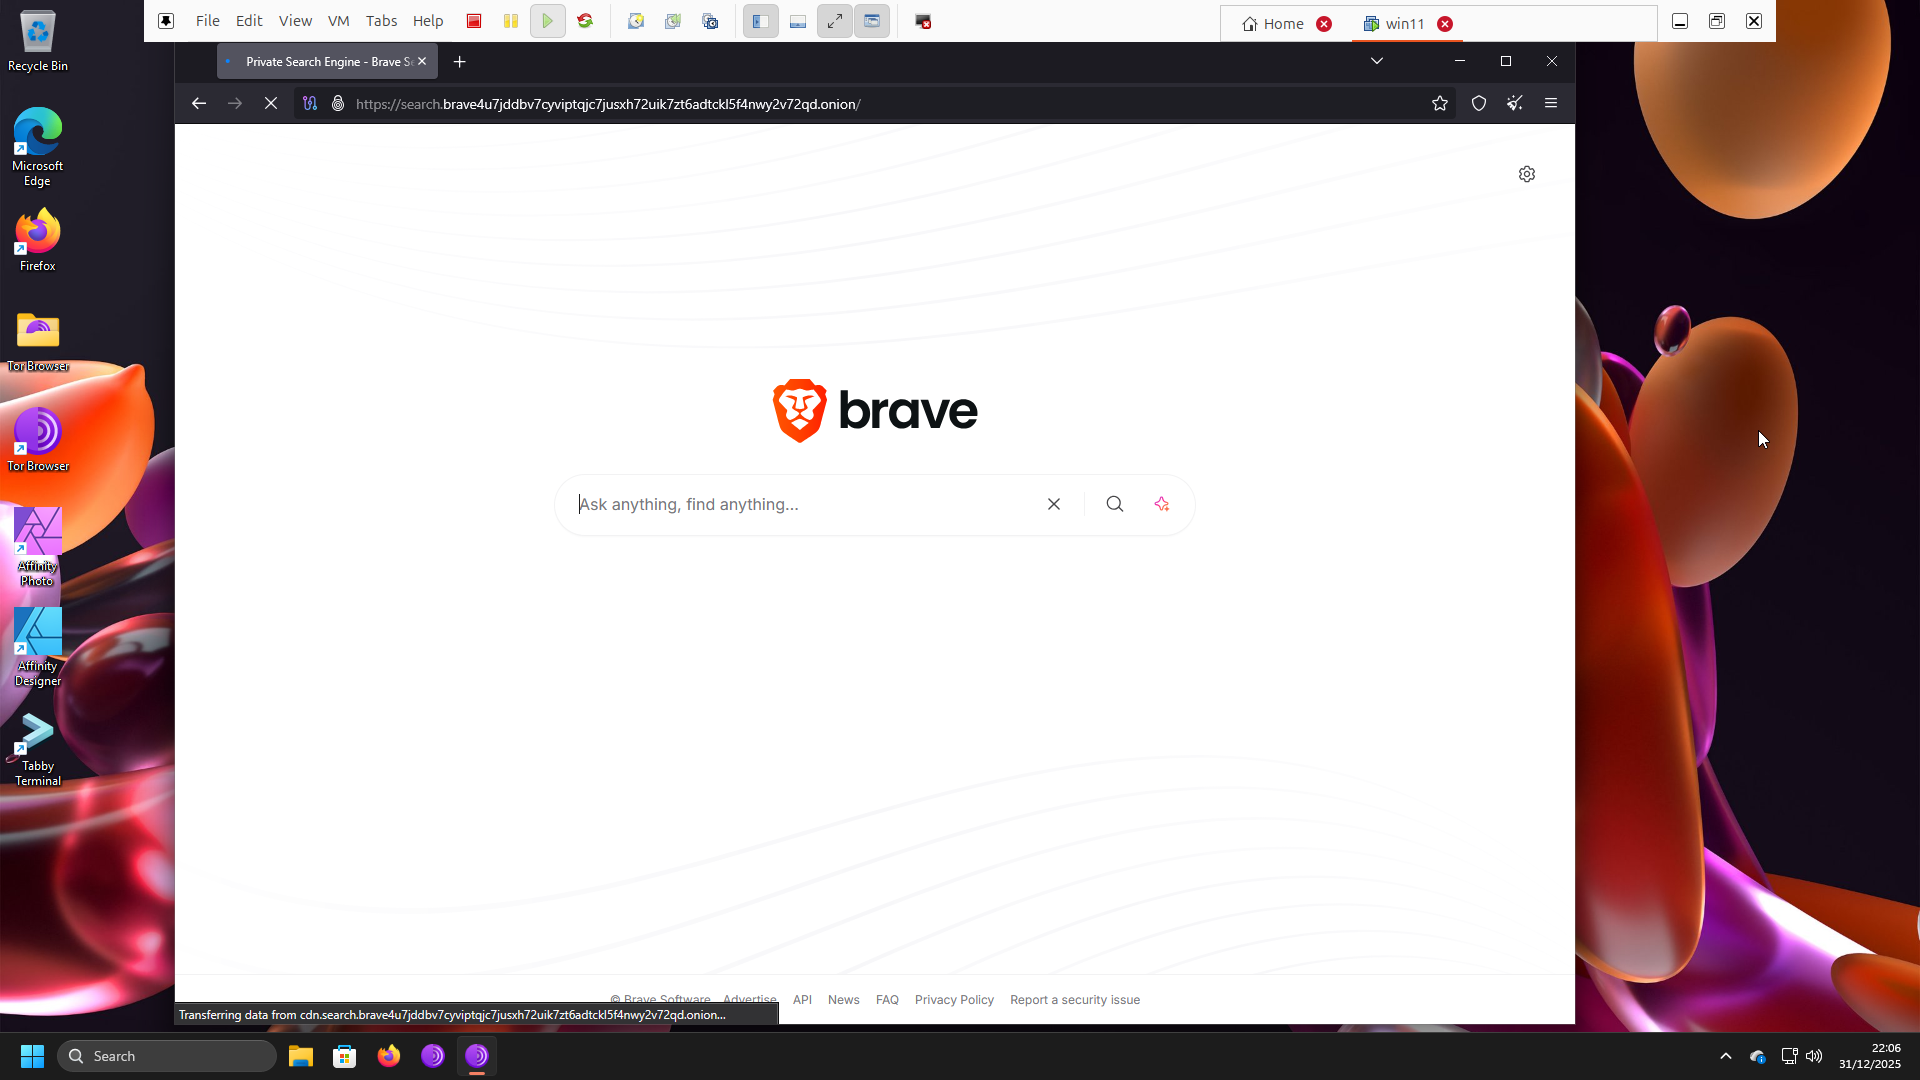
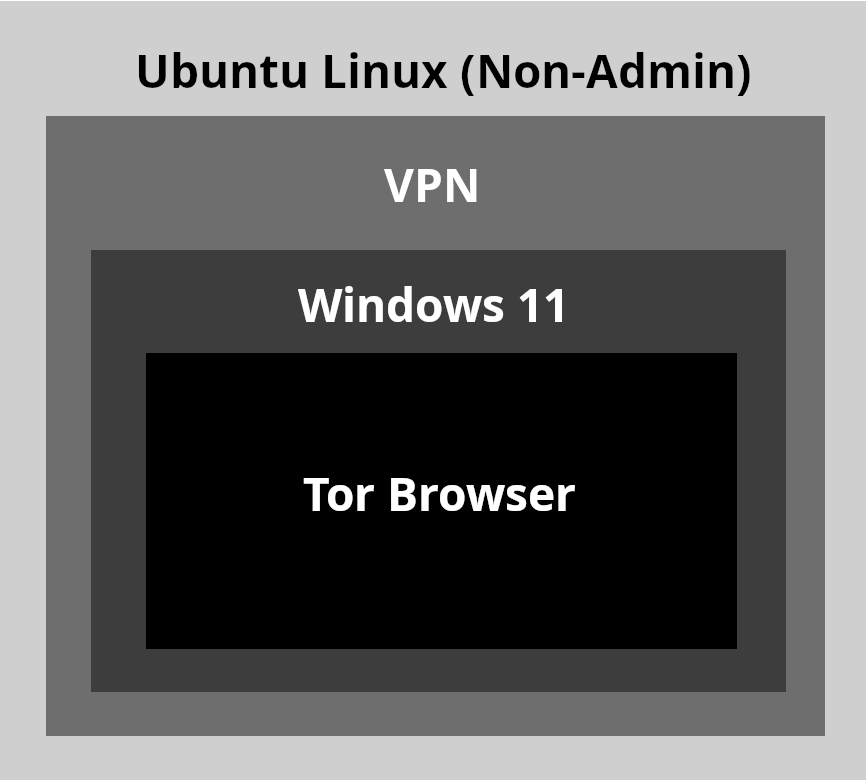
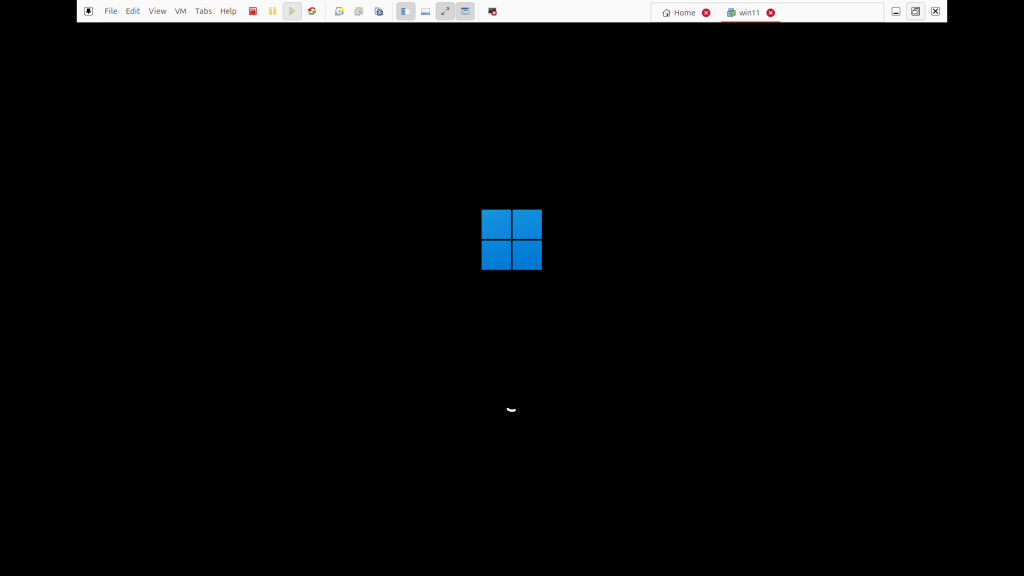
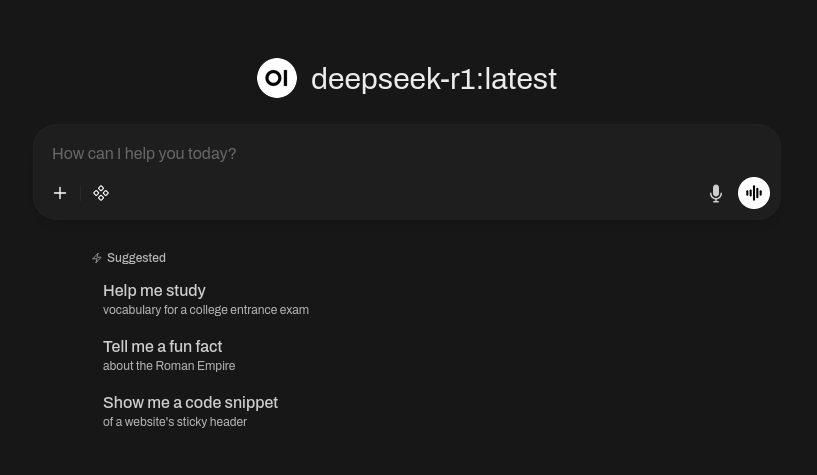
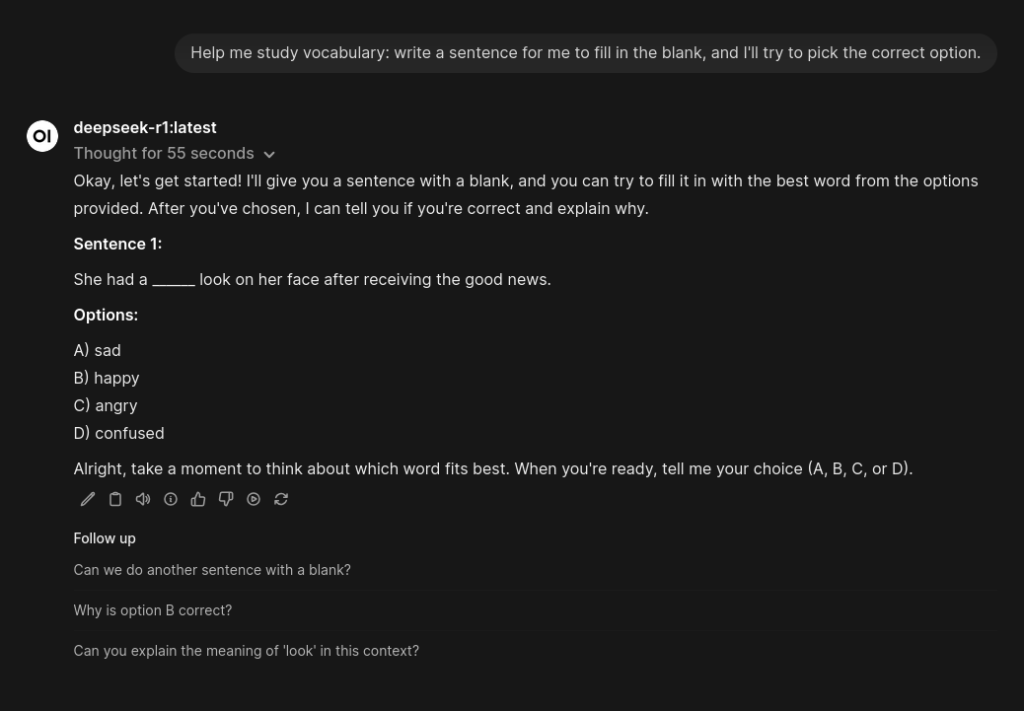
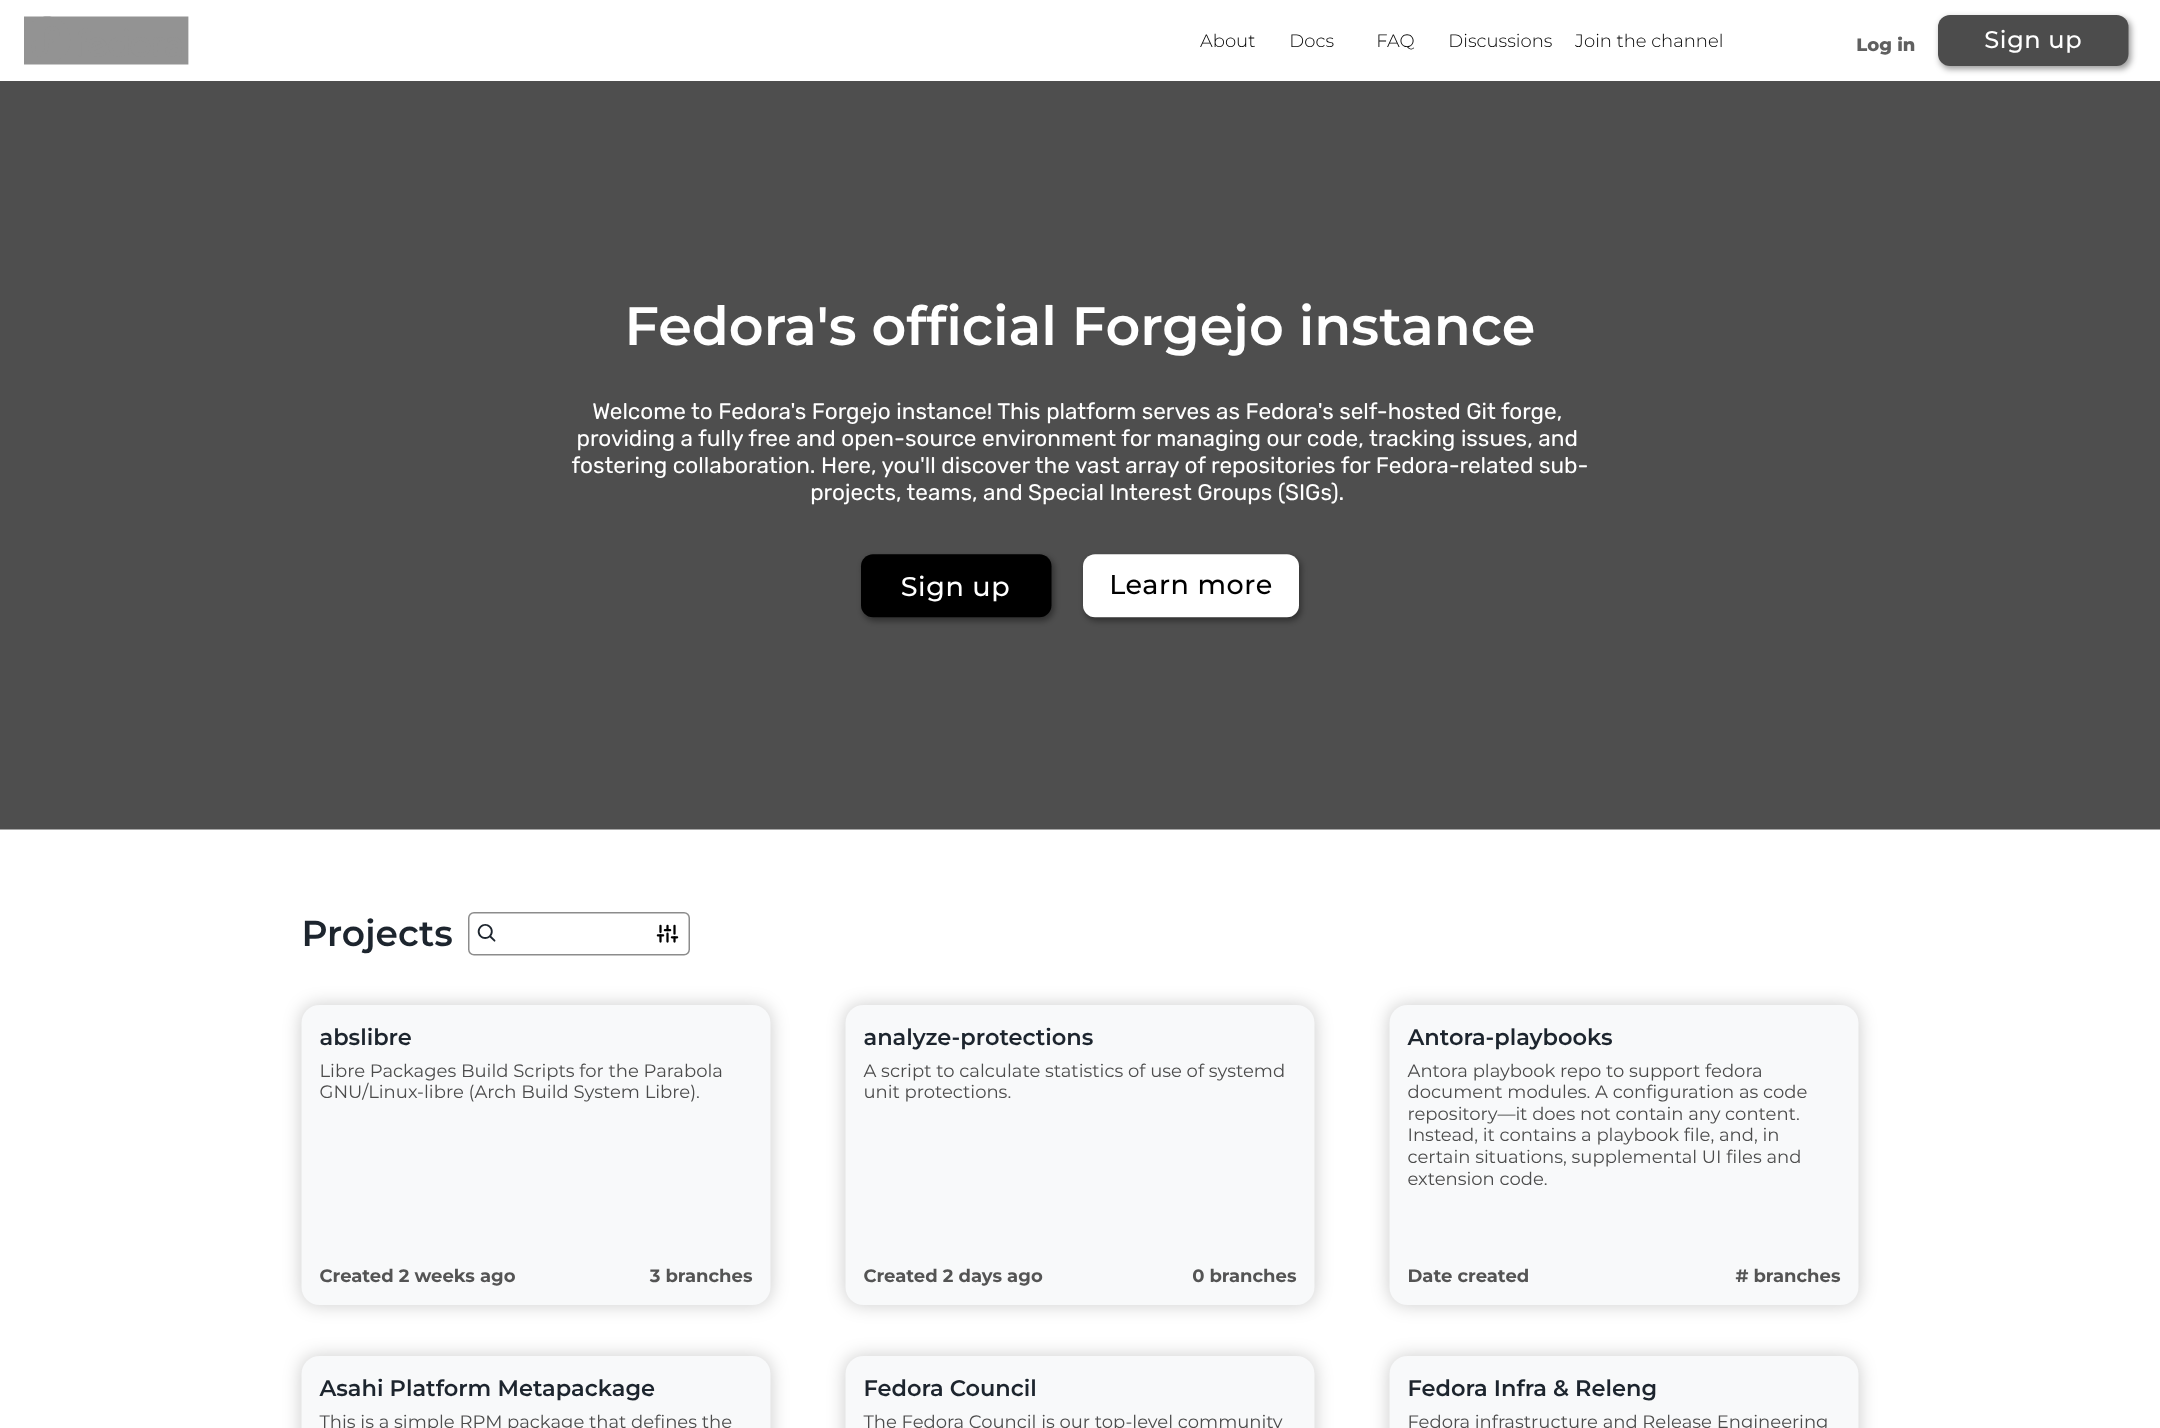
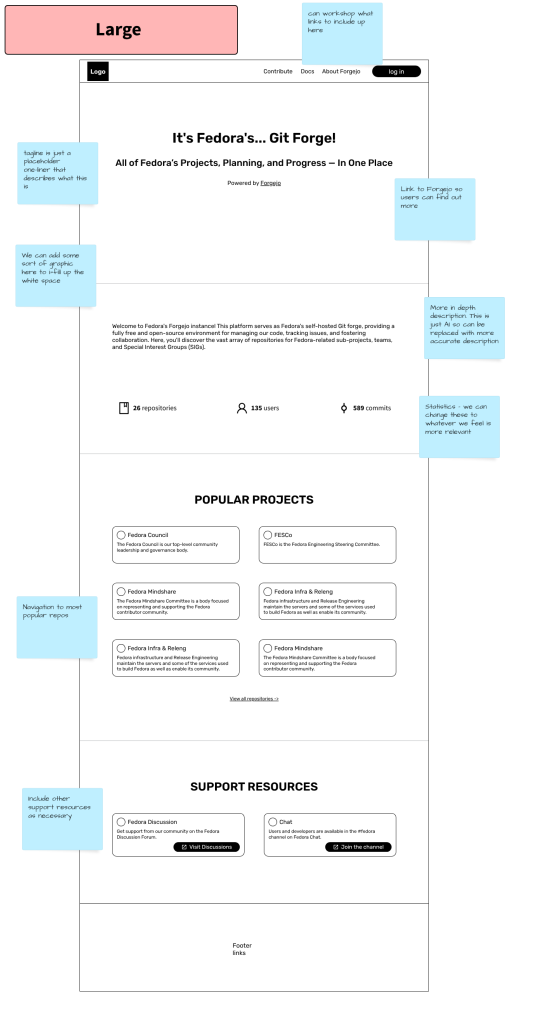
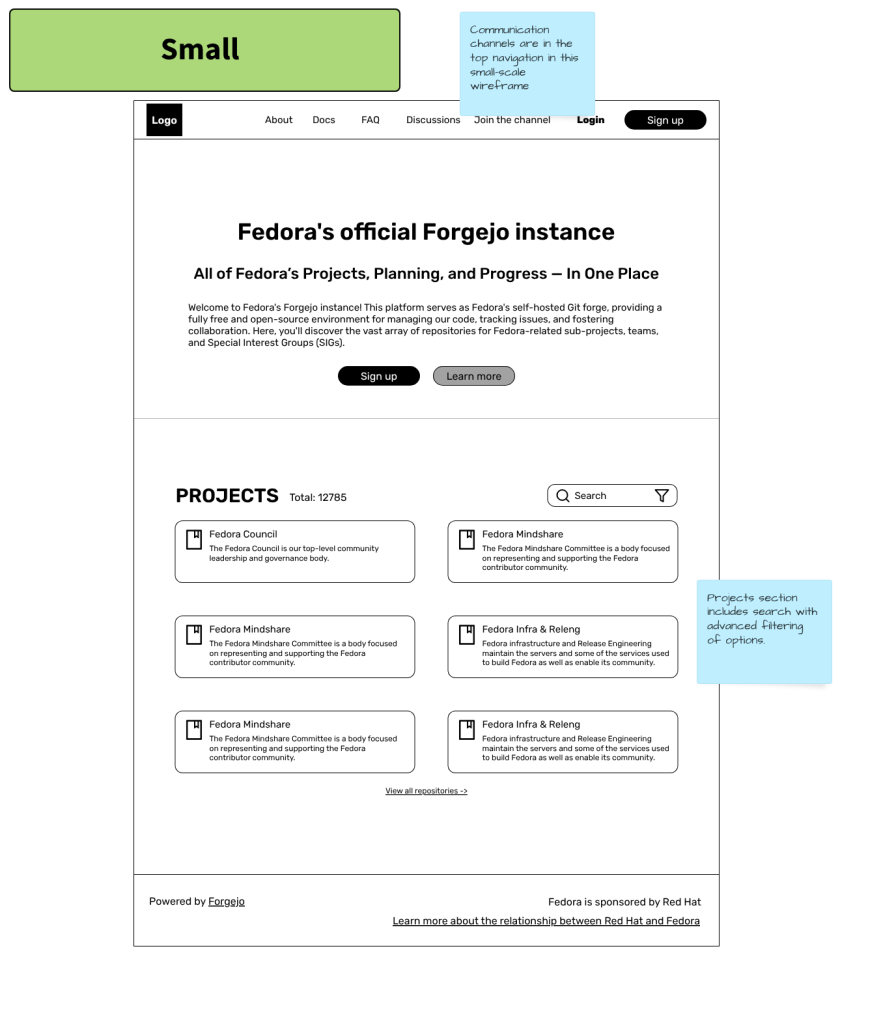
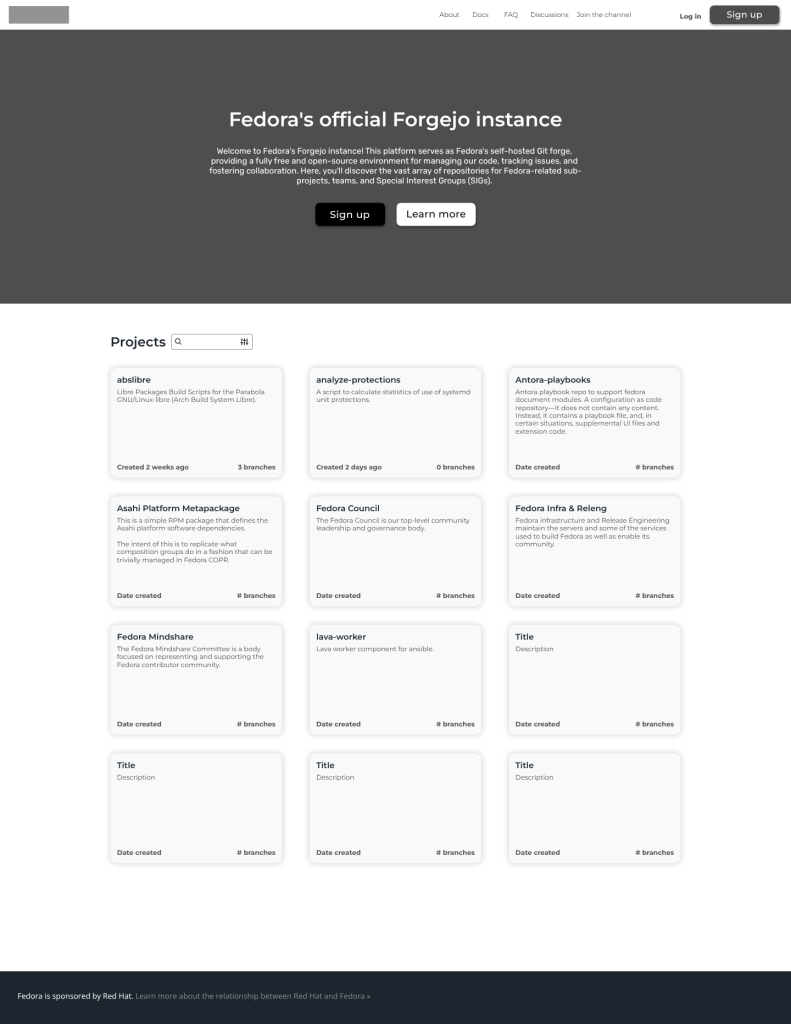
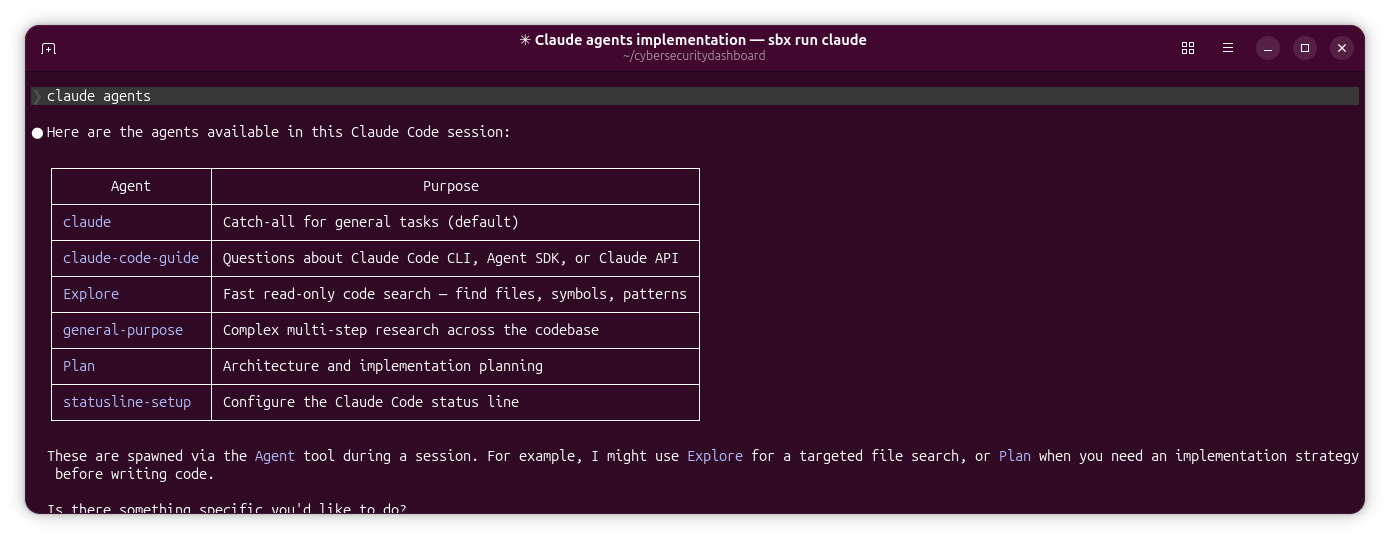
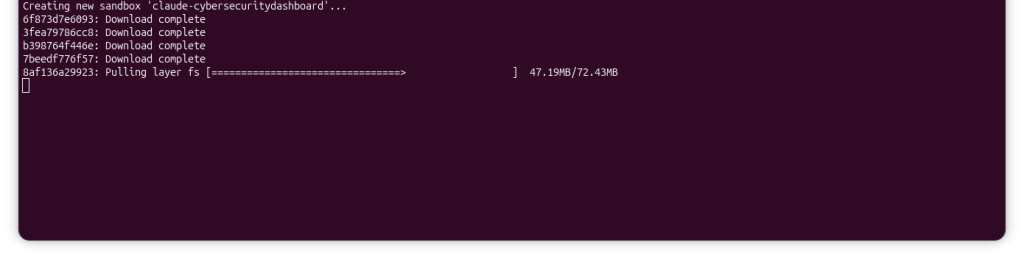
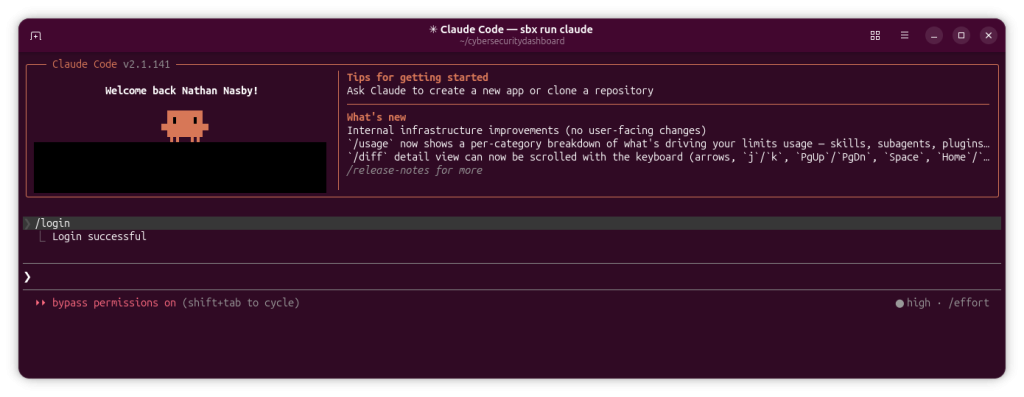
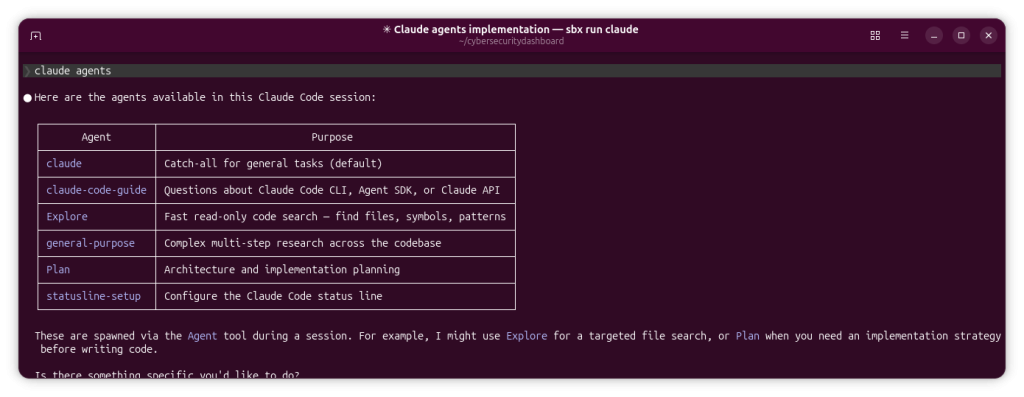
Below are a couple screenshots from my Ubuntu machine that gives some idea of how this would work for UX designers. We’re assuming we’ve already installed Docker Sandboxes on Windows, macOS, or Linux (I’m running this on Ubuntu) according to official docs. We are also assuming the Claude account is already connected to the agent within the sandbox. We’re already within the working /cybersecuritydashboard directory and we’ve launched the agent:
Limitations
While this is a huge step in the right direction, it needs to be said this approach has limitations for large-scale enterprise environments with established systems powered by older software platforms. MicroVM technology lacks the sophisticated hardware and peripheral emulation needed for testing designs for AI applications for these systems. This is worth noting because I’ve also been running experiments with Oracle Solaris and FreeBSD VMs powered by Vagrant + Virtualbox. That’s the biggest disadvantage right now for this technology. For large enterprises, migrating away from these established systems to newer systems in order to adopt Docker Sandboxes comes at a significant cost. Teams with this infrastructure need to further evaluate the cost + benefit of a large migration, and whether a migration will still comply with the organization’s regulations and administrative procedures.
It also needs to be emphasized that Docker Sandboxes is a commercial offering that is not under an open source license. If you are a business considering the adoption of this feature, you will need to take that into consideration. Holding a license for Docker features may lead to vendor lock-in with Docker along with feature bloat, where you can’t utilize Sandboxes without also having other features you may never use. Tracking licenses also increases administrative burden.
There is an open source project called Microsandbox on Github under the Apache 2.0 license, but lacks the commercial support and ease-of-use of Docker’s offering.
Conclusion
Limitations aside, Docker Sandboxes introduces security mechanisms that reduce several risks associated with AI-assisted coding workflows. For UX designers, this provides an easy way to vibe-code without putting data at risk.
My recommendation for UX designers working at emerging startups is to start playing with either Docker Sandboxes or Microsandbox now and see how it works within your discovery phase. Know that Docker Sandboxes is only free for personal use, so keep that in mind as you are working with this new tool.
For UX designers working with large-scale enterprise applications that rely on established systems, whether you should immediately adopt is dependent on the infrastructure and regulations of your organization. Strict administrative requirements may be a blocker to adoption.
For smoother buy-in from your UX org, it’s critical that security and isolation be emphasized over explaining the backend of the technology. The UX org may be puzzled as to why a designer is going to great lengths to adopt a DevOps technology for security when the main focus of design is process and research. The discovery phase is where this is the most necessary.
As AI tools evolve from assistants into agents capable of acting independently, designing the boundaries around those systems becomes as important as designing the systems themselves.